
Installing cork flooring is easy, whether you are installing cork tiles or panels. Carefully read about cork flooring installing guidelines with each manufacturer you consider to catch the subtleties that may exist.

There may be issues around installing cork floors in bathrooms, on radiant floors, and in dry climates. Installing cork flooring tiles requires glue while installing floating cork flooring doesn’t so that the floor can move freely — float — across the floor with expansion and contraction.
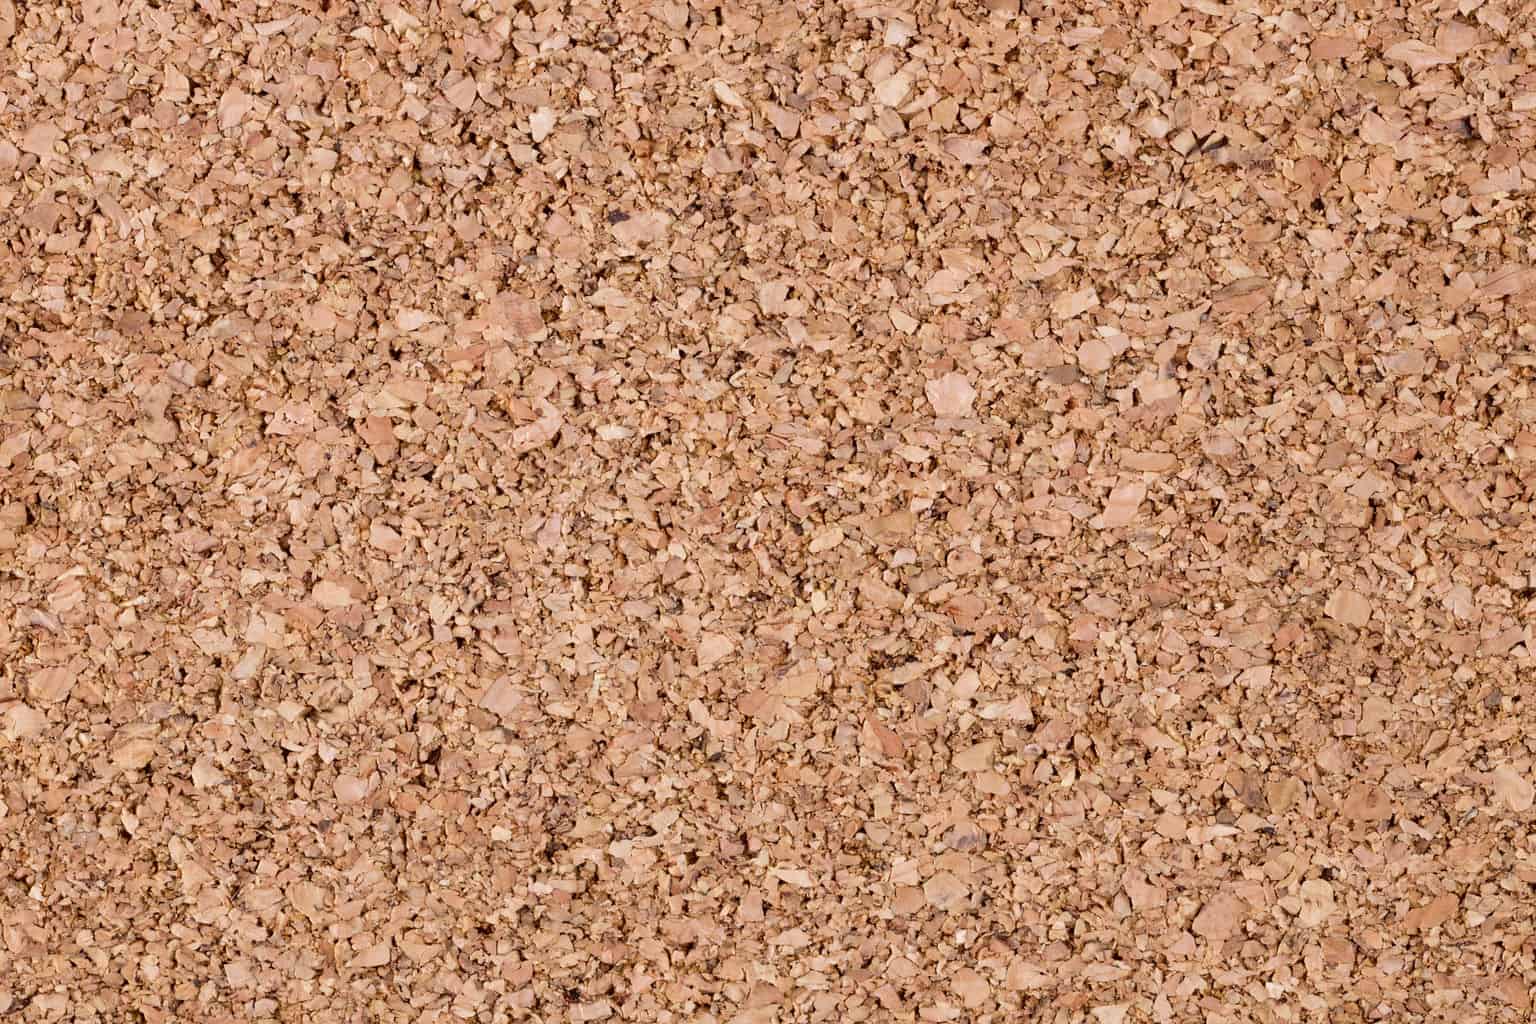
The natural characteristics of cork means that when installing cork flooring, the variations in shade and pattern that make cork so unique and beautiful must be taken into account. Cork tiles should be shuffled prior to installation to ensure a more evenly balanced coloring on the floor.
The tendency of cork to expand and contract with humidity changes can be minimized by installing floating cork flooring, and by stabilizing the temperature and humidity in your house. Even so, installing cork floors in bathrooms or other areas with high moisture content should be avoided. However, if your choose to install cork flooring in a bathroom, the perimeter of the room should be caulked prior to installing the baseboards to avoid moisture penetration (or you can calk around the baseboards for the same reason).
To further minimize the impact of variables in the climate, the cork flooring must acclimate for 3-4 days prior to installation. To do this, simply remove the cork tile from its packaging and leave in the room where the floor will be installed. The room temperature should be between 60F and 70F with normal levels of humidity. If you live in a particularly dry climate, let the cork acclimate for several weeks to make sure it has dried and contracted as much as it’s likely to so that you don’t get shrinkage once it’s installed.
Installation Process For Cork Flooring
Prepare the Subfloor
Generally, cork can be installed over any sub-floor as long as it is smooth, level, clean, and dry. That means that any old paint, wax, grease, polish, and old adhesive must be removed to ensure a good bond.
- For installation over existing wood floors, scrub with tri-sodium phosphate after using a paint or varnish remover. In extreme cases, the floor should be sanded, and then washed, rinsed, and allowed to dry.
- For concrete sub-flooring, make sure the concrete is level using a latex fill or leveler. Then the cement should be primed using a concreted primer or for higher-moisture rooms, covered with polyethylene sheets as a moisture barrier.
- To install on existing vinyl or other smooth surfaces, ensure the old floor is in good condition and rough up the smooth surface to ensure a good adhesive bond.
- Cork floors do not seem to adversely affect radiant-heat systems as long as a “vapor barrier” is laid down between the sub-floor and the cork. However, check with the manufacturer to ensure compatibility and for recommendations for maintenance.
Lay the Tile
Once the sub-floor is ready, layout your cork tiles, making sure that the color and pattern variations are scattered throughout your room. Before applying your water-based contact cement adhesive to the perimeter of the room using a paint brush, chalk your lines onto the sub-floor. Then, using a paint roller to apply the adhesive to the rest of the floor, paint directly over the chalk lines because the adhesive will dry clear. Allow to completely dry for about an hour until tacky before laying the cork tile.
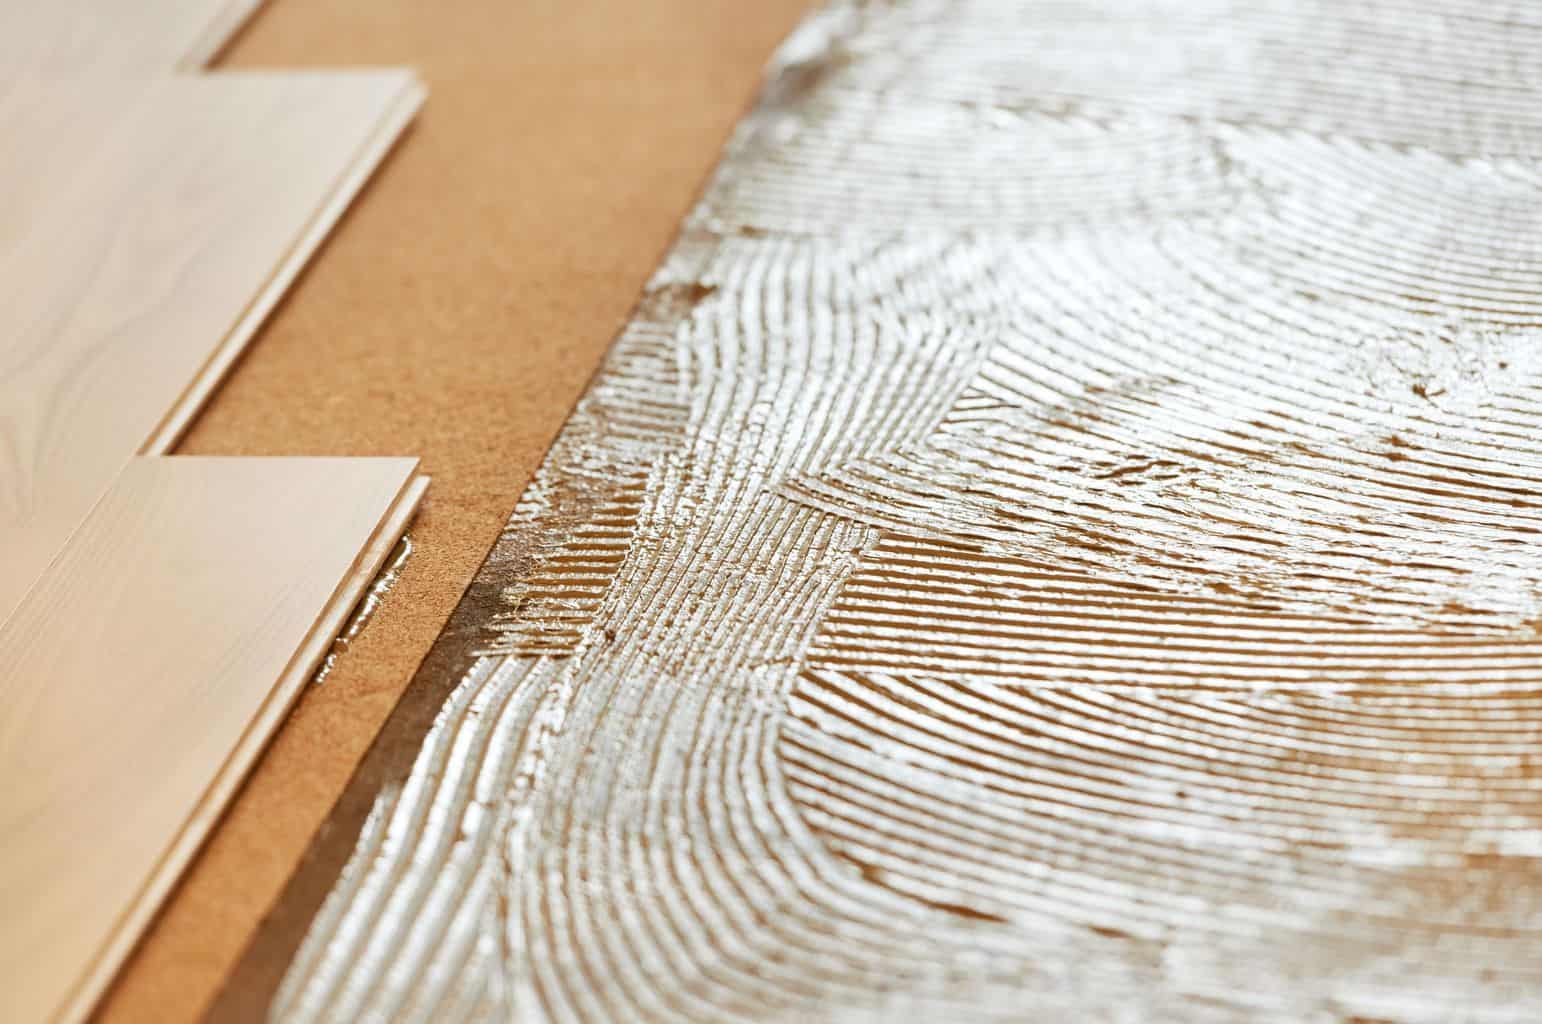
Starting in one corner, align the first tile to the chalk line and the next tile tight to the edge of the first. The remaining tiles can be laid in the same fashion and if necessary, can be cut using a sharp utility or linoleum knife. To attain a positive contact between the tile and sub-floor, the tiles must be hit with a mallet or rolled with a standard tile roller four times in each direction.
Finishing
Before applying a top coat of urethane or flooring wax to your tiled floor, remove any excess adhesive from the floor using a damp cloth, if the adhesive is wet, and mineral spirits if the adhesive is dry. Plus, the tiles and seams should be vacuumed and then cleaned with a sponge. Since many of the cork tiles already have finish on them when sold, this final top coat helps protect the adhesive from moisture working its way through the seams.

If you opt to install a floating floor, be sure to leave a 1/4-1/2 inch gap around the edges of the room, giving room for expansion when temperatures and humidity rise. Some cork floor companies expect you to put an expansion joint at each room change, not just at doorways; be sure to ask before you make your cork purchase what your cork floor company’s policy is. Another interesting note is that you see maximum lengths of how much floating cork you lay before inserting an expansion joint; generally that number is much lower than is really necessary.
The video below shows a step-by-step process for cork floor installation.
Let the finish dry for four hours before walking on the floor with socks and 24 hours before walking on the floor with shoes. Your installation is complete.
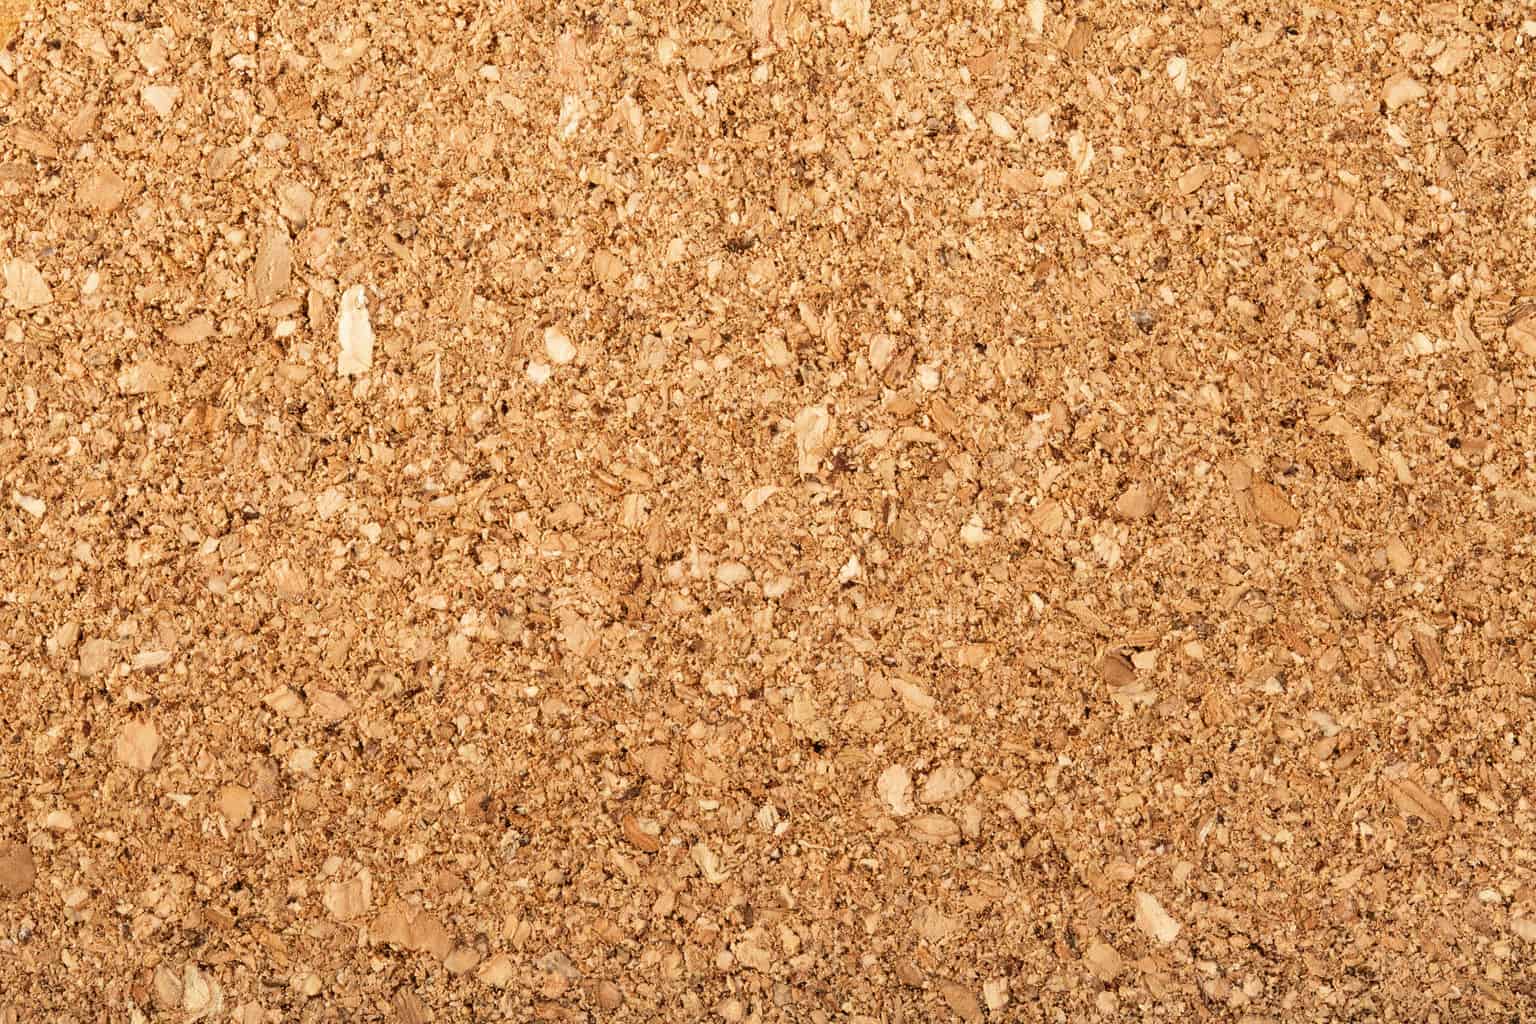
If you’re looking for an ecologically friendly flooring option that fits within your budget, cork flooring may be the ideal solution for you! Cork floor is a hardy and sensible flooring option that is easy to maintain and a beautiful alternative to traditional hardwoods.
The earthy style cork flooring brings to a room creates a cozy ambiance and this comfortable flooring option is quickly becoming a favorite in kitchens, living rooms and basements.
These days, manufacturers have designed cork flooring planks similar to laminate flooring, with a tongue and groove type design, eliminating the need for glue or nails. This makes installing cork flooring a fairly simple process that can be accomplished in a reasonable amount of time by even a novice DIY-er.
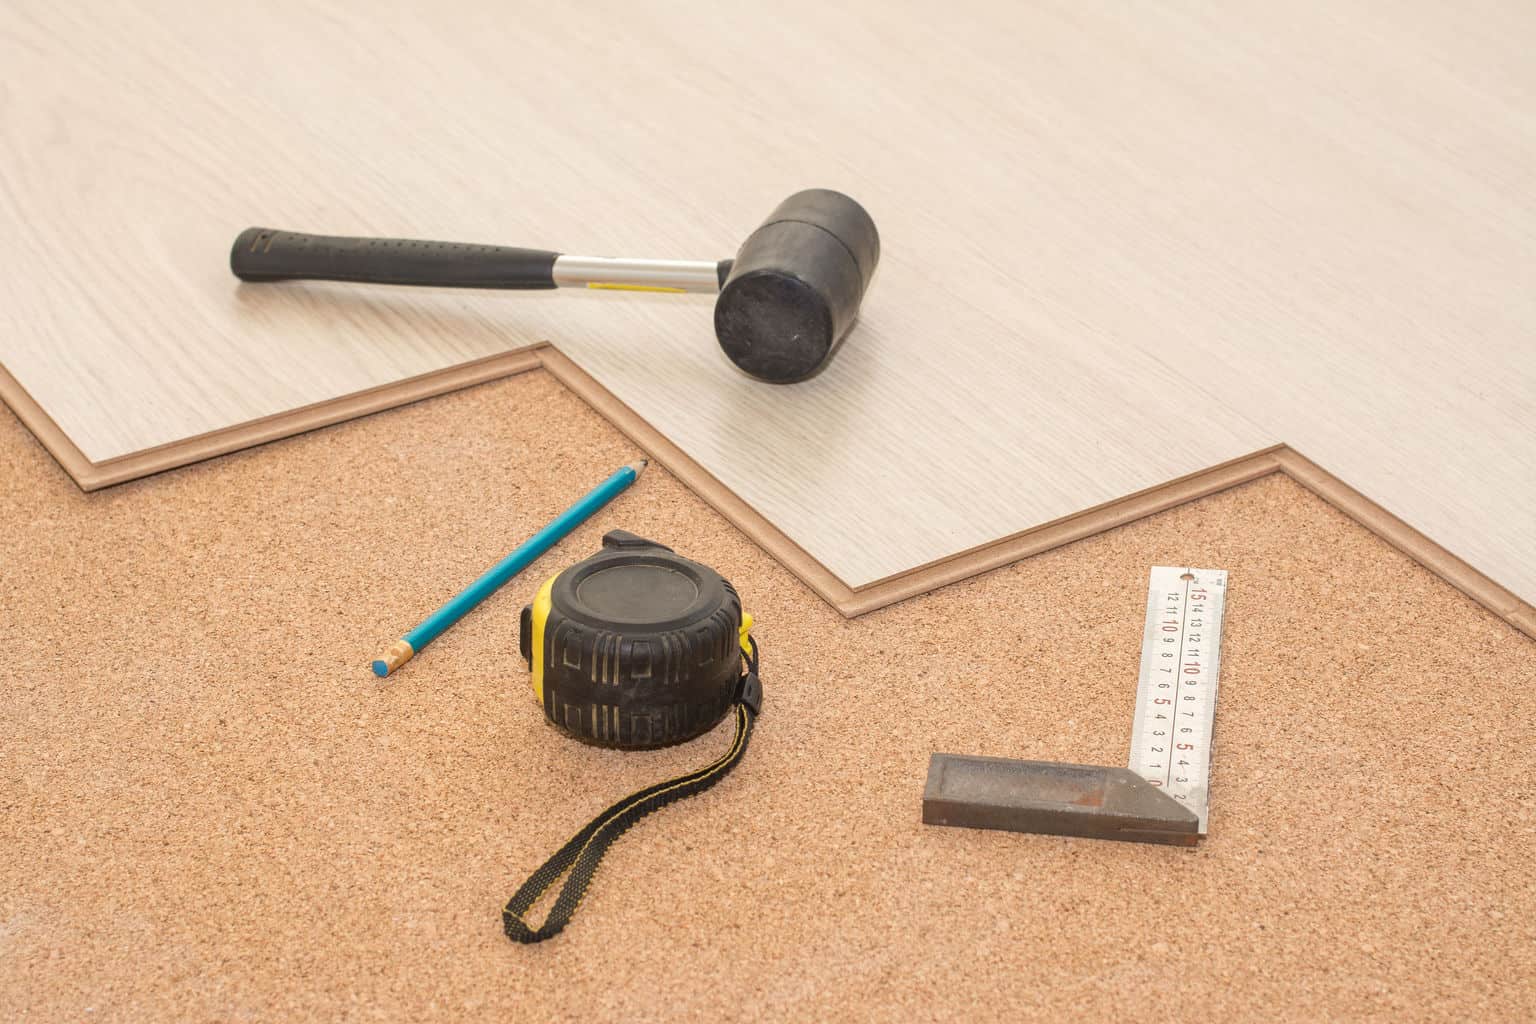
Prior To Installation, Gather The Following Tools
- Straightedge and clamps
- A saw suitable to cut the cork flooring: a jigsaw, handsaw, table saw or circular saw can work.
- Rubber hammer or rubber mallet
- Crowbar
- Miter box ad drill/driver to cut and install shoe molding
- 1/2″ wooden spacers
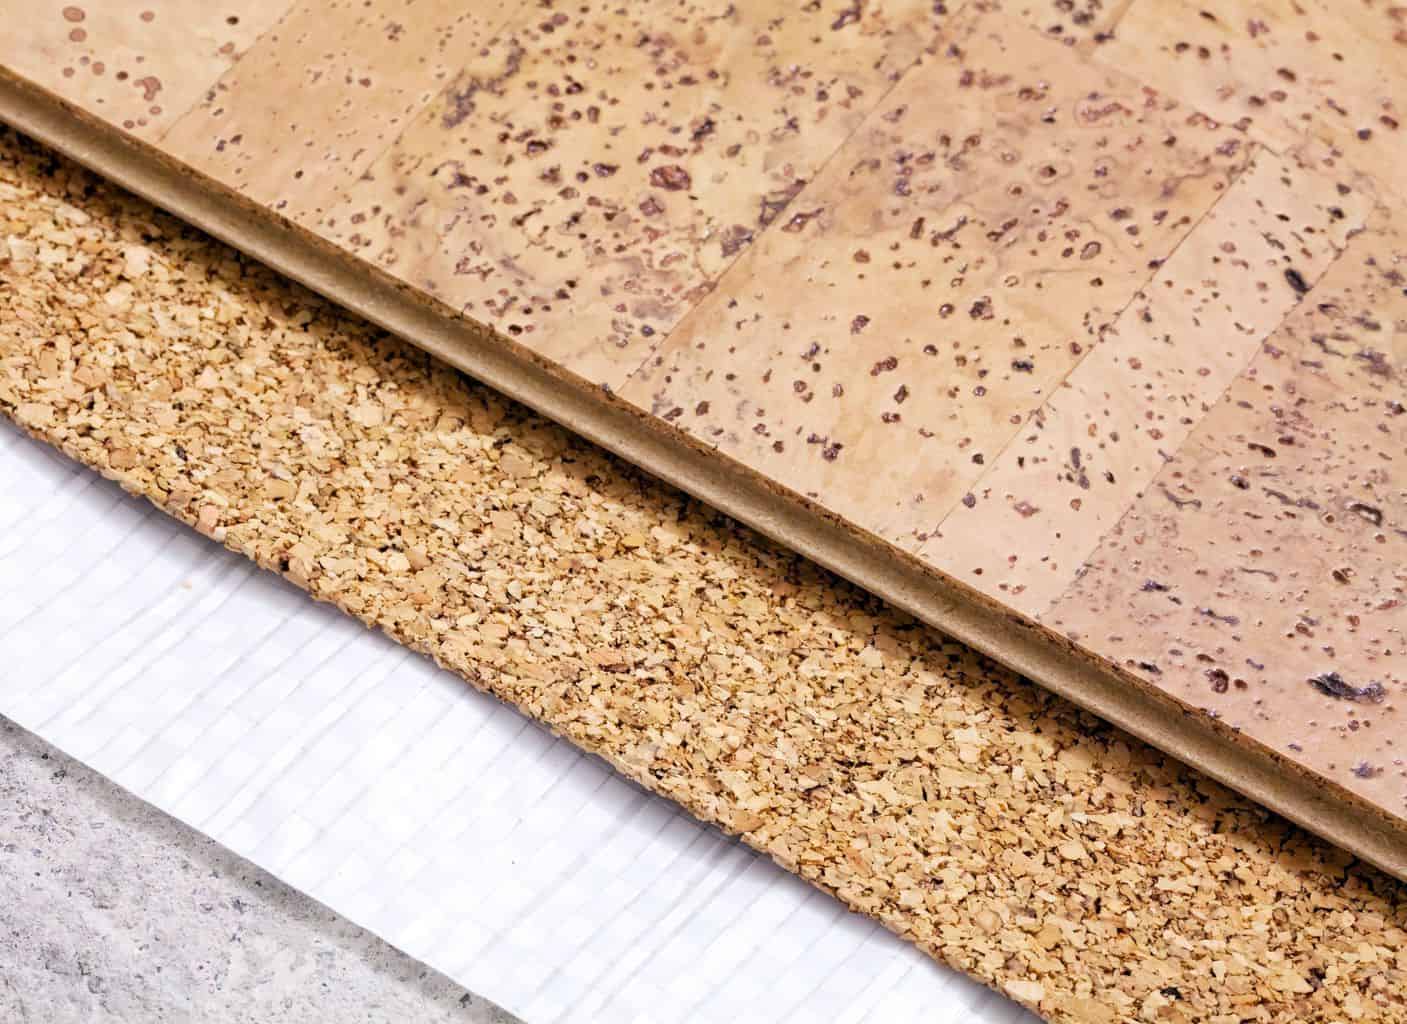
The floating floor design of cork flooring panels, where the planks are not required to be glued or nailed onto a subfloor, has truly simplified the installation process.
It is recommended that you install a plywood subfloor and/or moisture barrier if the floors are being installed in a potentially damp area. Otherwise, the cork flooring can be laid directly on preexisting vinyl, linoleum, hardwood, or concrete floors. Cork flooring should never be installed directly on top of carpet, however.
Because cork flooring will expand and contract with changes in humidity, you must leave a ½” gap between the flooring and the wall or there will be damage to your floors as they expand.
Of course, you are not going to want to leave this gap exposed, as that would be extremely unsightly, so you will need to cover the gaps with baseboard or shoe molding. If there is already existing shoe molding in the room where you are installing your cork flooring, it will need to be removed before installing the new floor.
If you would like to reuse the molding, take care not to crack it when removing and it can be placed over the expansion gap after the cork floors have been laid.
Additionally, you will want to acclimatize your cork flooring to the room prior to installation. Most manufacturers recommend leaving your flooring unwrapped from any plastic covering for a minimum of 72 hours in the room where it will be installed to allow the planks to adjust to the atmosphere and humidity levels in the room.
The room should be at least 60 degrees while the floors are being acclimatized. The subfloor or preexisting flooring on which the cork flooring is to be installed should also be made clear of dust and debris of any sort.
Finally, after gathering the above tools, leaving your cork flooring to adjust to the room for at least 72 hours, removing any existing baseboards or shoe molding, and cleaning the area on which the cork flooring is to be laid, you are ready to begin. You will want to set aside approximately 3 hours per 100 square foot space you have to work with.
Cork Flooring Installation

- If you are installing any kind of moisture barrier, such as a polyurethane sheeting, you will want to install that at this point. Run the sheeting up the wall about 2-3 inches, to help keep out moisture.
- Measure the length of the room and trim the cork flooring planks to fit; remember to leave the ½” space on either end for expansion.
- Begin the initial installation of the first row of cork flooring planks. To lay the cork flooring, push the planks together at an angle so the one end of the board slides into the corresponding groove on the subsequent plank until the boards click together. The pieces should be installed short end to short end and worked lengthwise like this (not long side to long side). You may need the force of your rubber mallet to join the boards, but do not hammer on the edges of the planks where the tongue and groove have been brought together; rather, hammer in the middle of the boards to prevent cracking.
- As you reach the end of the row, cut the last piece to length, using your saw guided by a clamped straightedge.
- As you lay the flooring, to save the ½ inch for expansion, place ½-inch wood spacers between the long end of the first row of cork floor planks and the wall. Line up this initial row of flooring boards tight against the spacers.
- Continue installation of the rest of the cork flooring boards, using the rubber mallet to ensure each row of planks are installed tightly against one another.
- As you install the final row, trim the planks to allow for the ½” expansion between the edge of the flooring and the wall.
Now that the flooring has been laid, most manufacturers recommend applying an additional polyurethane layer to protect the porous nature of the cork flooring from possible water damage.
Prior to applying the polyurethane, vacuum floors to remove any dust and dirt to ensure a complete and even application.
Let the finish dry for at least 24 hours before walking on the floor at all, and for the majority of the polyurethane finishes, a final hardness is achieved after 8 days, at which point you can install the shoe molding.
Measure the shoe molding and cut to length (if using a new molding and not re-installing preexisting shoe molding you removed prior to installation).
Join the molding at the corners of the room at a 45-degree angle and do not nail the molding directly to the cork flooring. Rather, nail the molding into the baseboard at 12-inch intervals.
At this point, you can rejoice! You have completed your cork flooring installation and your new floors are ready to be enjoyed.
Hello SDYE,
You can butt the cork up against the fireplace. If you’d like, use sanded caulk so that it would expand and contract with the little bit of movement you’d anticipated having in your floor. Another reader has done this and years later reported it to be working fine. He had tried grout but it cracked so he cleaned it out and replaced it with the sanded caulk.
Hi, thanks for answering my question. We are using the floating floor. Ugh, guess we have to move the fridge and stove to get in those spaces…the stove is gas so that should be interesting and the fridge is very heavy…hope we don’t damage the floor putting it back. I thought if we remove the quarter round, then install the flooring with the recommended gap for expansion, the quarter round could be reinstalled over the gap anchoring them to the base of the cabinets?? The doors are another 3 or 4 inches above this, so opening them won’t be an issue. The vinyl on the concrete slab is very VERY thin (think dropping a very small pair of fingernail clippers cuts it) so we’ll leave it in place to act as a vapor barrier. I think we can do this! Its about 180 sq ft…guess it will take all day!
sorry so long. Thanks for your help. Little nervous about this project :-)
You talk about the humidity levels when getting ready to install the cork flooring. If you install in winter when humidity levels are rather low (I live in Ohio), what happens in the summer when the humidity can be double? Does the vast range in humidity levels impact the way – or the time of year – you install the cork?
Thanks so much for the website – I’ve learned a ton by reading it!
Good luck Lor – I’m sure you’ll do just fine and you’ll be so happy with new floor!
Hi Maggie,
Ugh – I know how humid it can get in summer in Ohio! Keep in mind too, I’m sure you heat your home in the winter and use an air conditioner when it’s really hot and humid. Both of these help with the temperature and humidity fluctuations.
Another thing to consider: are you gluing the flooring or floating it? Floating the flooring helps greatly when the humidity fluctuates so greatly.
Hi There~
I’m thinking about installing cork flooring in two bedrooms, on stairs and in a hallway area upstairs. After much reading, I think I want to go with the floating planks. Can this be done on stairs? Any suggestions for a brand that is quality? Thanks! Karen
Hi Karen,
Yes, this can be done on stairs, though it’s recommended to nail or glue down there. Don’t forget edging too!
Hi, we ar installing a floating cork floor in a new bathroom–should we install the shower base before or after the floor is down?
I would suggest installing the shower base first so that you can then cut the cork tiles to fit. Good luck with your project!
We need to find a finishing strip to put between the edge of the cork floor of the kitchen and the laminate floor of the hallway. What do you suggest? Thanks for your help.
Hi Flooring Lady!
I want to install a cork floor, but I’m torn between the messy glue down tile and the floating floor. Do the glued tiles last longer since they are all cork not just a thin layer? If I would go with the floating floor, could I seal it with a commercial poly to protect it more? I know you can seal glue down tile, but I can’t seem to get an answer on sealing the floating floor.
Thanks for your help in advanced, it’s truly appreciated!
I apologize. After reading other pages on your site I realize now that yes I can add a sealer. I’ve heard of a UV acrylic sealer, is this a sealer you can buy seperately or is this just a finish some floating floors come with? I’ve heard it’s more durable for scratches and sun. what’s your feelings on it?
Hi Diane,
The best thing to do is shop around at your local hardware/home improvement stores and see what they have available.
Hi Colleen,
I would think your best bet is to seal the floating tiles individually before laying them, if you do so after it’s been laid, it kinda defeats the ability for expansion/contraction if they’re all sealed together. However, beware….. if the tiles already have a factory sealer applied, you most likely will not be able to this and will have to check with the manufacturer first.
Yes, the glue down should last longer. Check the warranties too. Basically, solid wood vs. a layerer wood is going to last longer.
I don’t use acrylic sealers myself, but that’s my choice. I prefer poly because I believe that they hold up better.
Hello! I am planning on installing cork floor over a concrete basement floor. I am hoping to use glue down cork due to the slightly wavy (even after leveling) concrete. Because it’s in a basement with low ceilings, there’s not room for adding a wooden sub-floor. So, how can I make sure our concrete is moisture free? You recommend putting down polyethylene sheets, but how does one glue cork on top of that? Do you glue down the polyethylene sheets first? Any advice would be very helpful! Thank you!
Hi Laura,
If using vapor barrier sheets you would need to use interlocking cork tiles, creating a floating floor. This could be problematic though with your concrete being uneven, but then again, there may even be issues even if you use glue down tiles. If you are sure you want to use glue down tiles, there are vapor barrier paints that you can use first – see the link https://theflooringlady.com/vapor_barrier_paint.html .
I am thinking of installing a cork floor in a bathroom. Since it is resilient material I don’t know if I should install the lavatory over the cork or install the cork around the lavatory. I am most interested in the floating floors.
Hi Joel,
You can do it either way. Please check to make sure that the cork flooring you’re looking at is recommended for use in the bath area.
Hello Flooring Lady,
We are replacing ceramic kitchen tile with cork flooring. The installer stated that he would rather fill the areas where the tile was missing and lay the cork flooring on top.
Is this recommended, or would you suggest removing the existing tile and laying the cork over the concrete slab?
Hi Margaret,
Either would be acceptable as long as the kitchen tile is level. I think the real question is: “What do you want?”. He should do the work according to what you desire.
One thing to keep in mind – at least this way your concrete slab is sealed (no worries about moisture coming through the slab). If you remove the tile, then the slab should be waterproofed with a sealer.