
If you are looking to install a tongue and groove floor, it is important to know the different options. When it comes to the installation process, there a several different ways that it can be done. Despite which option you choose, they can all be completed well when you take the time to look at the instructions and purchase all of the necessary materials.
If you want to know which option for installing tongue and groove flooring will work best with you, I have put together a list of the different options, as well as how to install each option.

How To Install Different Types Of Tongue & Grove Flooring
Floating Floor
It is fairly common for many wood floors to be installed with the floating technique as it allows for rooms to contract and expand.
- Step 1- Underlayment: If necessary, you can apply a layer of vapor barrier to the floor and then you need to roll out your underlayment.
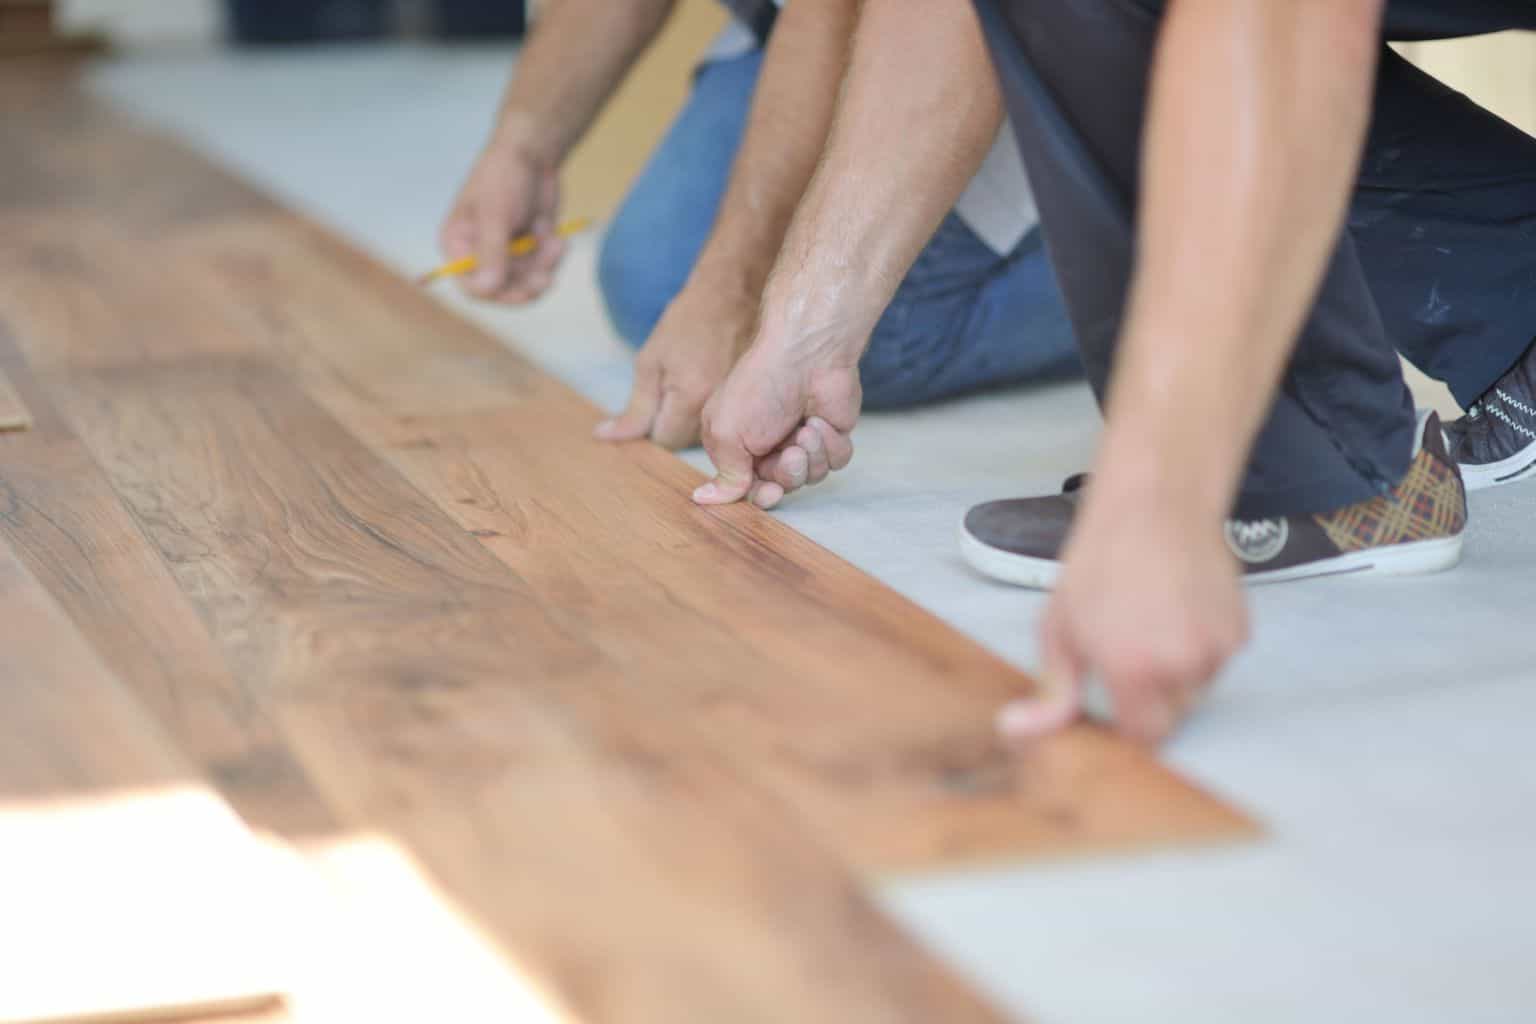
- Step 2 - Begin Laying The Boards: Be sure that your first board is placed with the tongue edging pointing into the room, not against the wall. Be sure to place wedges in between the plank and the wall to prepare for expected expansion.
- Step 3 - Apply Glue And Attach Boards: Apply your glue to the grooved edge of the board. As you continue, use a knocking block to help you tighten the joints by hitting it against each board.
- Step 4 - Clean Glue: Once you have tightened a board, be sure to wipe away the excess glue before it dries. Continue with the process, adding rows while staggering the boards and cleaning excess glue. When the adhesive has dried, either replace the baseboard you had previously removed or add show molding in order to cover the gap for expansion.
Glueing To Concrete Floor
Gluing the tongue and groove flooring to concrete is pretty similar to a floating floor, but there are minor differences.
- Step 1 - Glue The Joints: Similar to the above instructions, you need to apply wood adhesive along your wood’s grooved edges.
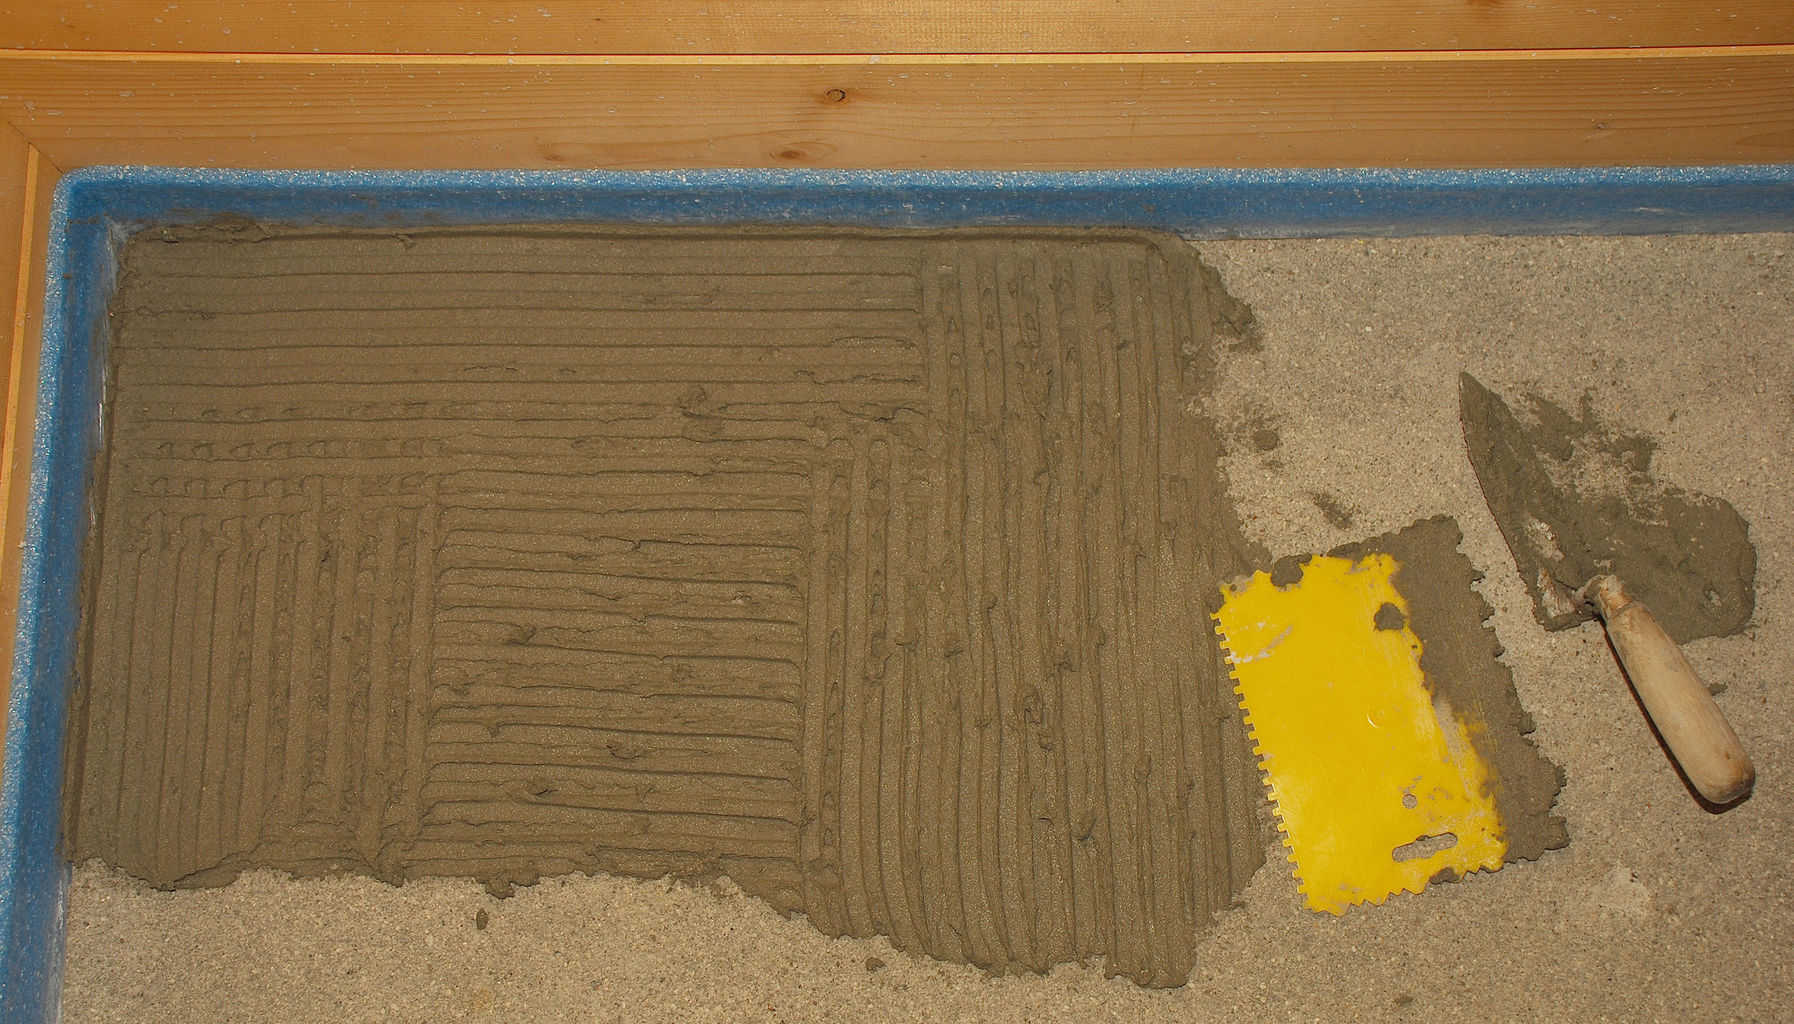
- Step 2 - Spread Adhesive: Spread your choice of floor adhesive on your floor. It is recommended to use a notched trowel to spread the adhesive because it will create notches that help with adhesion. Once the adhesive is placed along a section, you need to firmly put the boards in place.
- Step 3 - Continue This Process: Continue Step 2 until you have done this to the entire floor. It is recommended to lay rags down and then place concrete blocks down to add weight to the boards as they dry.
Nailing The Floor
Laying a tongue and grooved flooring that needs to be nailed is also a possibility.
- Step 1 - Strip Flooring: Choosing to cover the entire area with strip flooring is optional, but it may make the process of having to be on your knees much more pleasant.
- Step 2 Remove Baseboards: Before you can begin laying the new floor, you need to take the time to carefully remove the baseboards. If you remove them correctly, you can reuse them again after you have installed the new floor. Gently loosen it from the wall using a pry bar, then pull it from the wall.
- Step 3 - Clean The Area: Take the necessary time to adequately clean the floor before beginning the process.
- Step 4 - Apply Vapor Barrier: You need to lay your vapor barrier along the entire floor (and an excess of 6 inches leading up each wall). Fold in your corners so that it will be able to sit flush to your floor.
- Step 5 - Furring Strips: Using concrete screws, attach furring strips throughout the room. Every 16 inches, be sure to fix the strips, at a 90 degree angle, to your new boards.
- Step 6 - Laying Your Boards: When laying your boards, attach them to the furring strips with toe nailing. The nail should be driven far enough that it is just beneath the surface of your board.
- Step 7 - Continue And Finish: Keep laying the boards until you have completed the entire room. If necessary, you can apply the desired finish once everything is completed. You should then cut the excess barrier from earlier and reinstall your baseboards.

While each process is a little different, learning to install tongue and groove flooring is not too difficult. Regardless of the choice you make, this process shouldn’t take too long.
I recommend looking into what type of floor you have underneath this new tongue and groove to see what type of installation process will be best suited for you.