So, you've decided to renovate the house, but you want to save your precious hardwood floors?
Protecting floors can be tedious, but it's very important.
In order to save you some time, we've put together this guide on how to protect floors during construction.
We'll also give you some advice on choosing the right materials.
Plan Things First

Just like with any other sorts of construction or renovation work, floor protection requires a carefully planned and thought-out process. The floors simply need to be protected in order to prevent damage.
You also need to take into consideration the fact that there might be adjacent areas which are not under renovation but could also get damaged or dirty. You also need to take care of those, not just your working area.
Contractors usually use the term "mess mitigation", but that generally refers to a simple cleanup.
A well-laid-out plan will help you go from demolition to the final walk-through with no major fuss. All remodeling stages will go much more smoothly if everyone works according to best practices.
Best Construction Practices for Floor Protection

The first thing you need to do is to carefully plan the demolition route which will lead to a generously sized container for storing all the waste created.
This route should be free of any obstacles, and if it leads to the outdoors, you should definitely think of the possibility of mud getting onto the route.
If that's the case, thick layers of wood chips can help with reducing the amount of mud that gets tracked back into the renovation site.
The best method for protecting floors during construction is by establishing a "clean-as-you-go" strategy.
This means that once each working day is done, you should use sponge mops and vacuum cleaners to clean up the mess generated on that very day. By doing so, you'll start off clean and tidy every next working day.
A renovation site clogged up with debris and waste will not help you get the work done any easier or faster.
All the noxious substances from the renovation area tend to turn into fine dust. This can contaminate the rest of the house and even cause medical conditions in your family.
That's why it's very important to make sure that all the work areas are properly sealed and ventilated. By doing so, you're also protecting the floors.
While the demolition is going on you really need to pay attention to proper ventilation. One of the easiest ways to do so is to install a fan in one of the windows.
If you're renovating an old house, you might even consider using an air scrubber.
The Right Materials

The very essence of floor protection during construction and renovation is to always choose the right materials for the job. These can be separated into two groups:
Ventilation and sealing materials
Floor coverings
In order to properly seal and ventilate your working area, you need to use the right materials. We strongly suggest choosing some fire-retardant plastic sheets as they will make things much safer.
These aren't a must, but bear in mind that older buildings sometimes have faulty wiring and are prone to fires.
Also, anti-static sheeting is another great option which can easily be combined with various sorts of pole systems depending on the sizes, shapes and surfaces you're working on.
As far as floor coverings are concerned, you need to take into consideration the material of your floors.
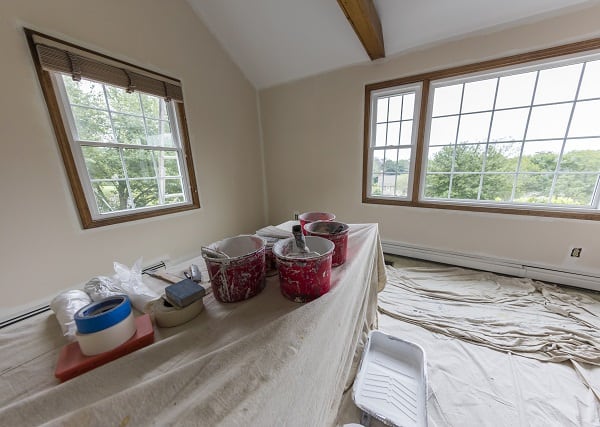
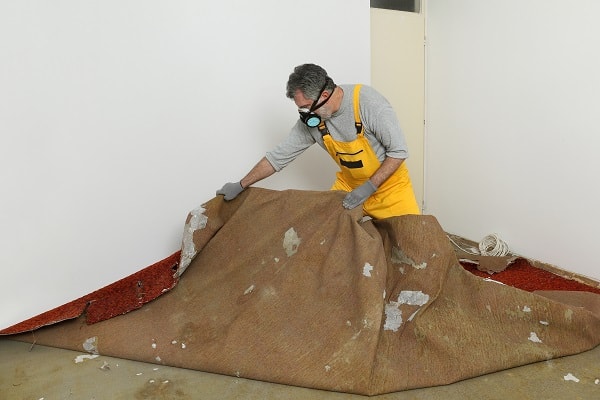
Let's say you didn't remove the carpets. They are going to need special protection. Make sure you choose a strong and durable carpet cover, which will be resistant to punctures and water.
Going for a carpet cover which features a water-based adhesive will ensure that it stays put and doesn't cause any discoloration to your carpets.
Also, when all the work is done, it will come off cleanly and you won't have to worry about them anymore.
Wood or tile floors will need a whole new strategy and approach. You need to cover them with something that will keep them safe from liquids, dust, debris and also heavy tools that might get dropped.
The cheapest and easiest option is to use corrugated cardboard rolls. They come in rolls of 250 ft. and as such they are easy to transport and lay out. Also, once you're done with your work, they are easy to get rid of. They can easily be cut by scissors or a knife to fit any floor.
If you're willing to experiment more, you can make a sort of a sandwich construction by using a layer of rosin paper which will get covered by a layer of foam.
On top of that, you will add Masonite board, and this should keep your floors protected from virtually any type of danger. Just be careful, as rosin paper can sometimes leach its red pigment onto the floor underneath.
This might sound way too complicated, so you can also try using sheets of heavy-duty 14 mil plastic and cover them with Masonite sheets.
Sticky mats can be helpful at the entry points to your work area as they are convenient and easy to use. Once each layer gets overwhelmed by gunk, just dispose of it and use a new, clean one.
Conclusion
Now you know how to protect floors during construction. Home construction and renovation is a slow and tedious process. It takes a lot of planning and a lot of attention to detail.
It's all about choosing the right materials and doing the preparation work. Once the work is complete, just remove the disposable materials and enjoy your new home.
